How to Prepare a Professional Technical Rider (With Example)
What a band technical rider should include, how to write a useful stage plot and input list, and a practical example you can adapt.
May 26, 2026 · BandCalendar
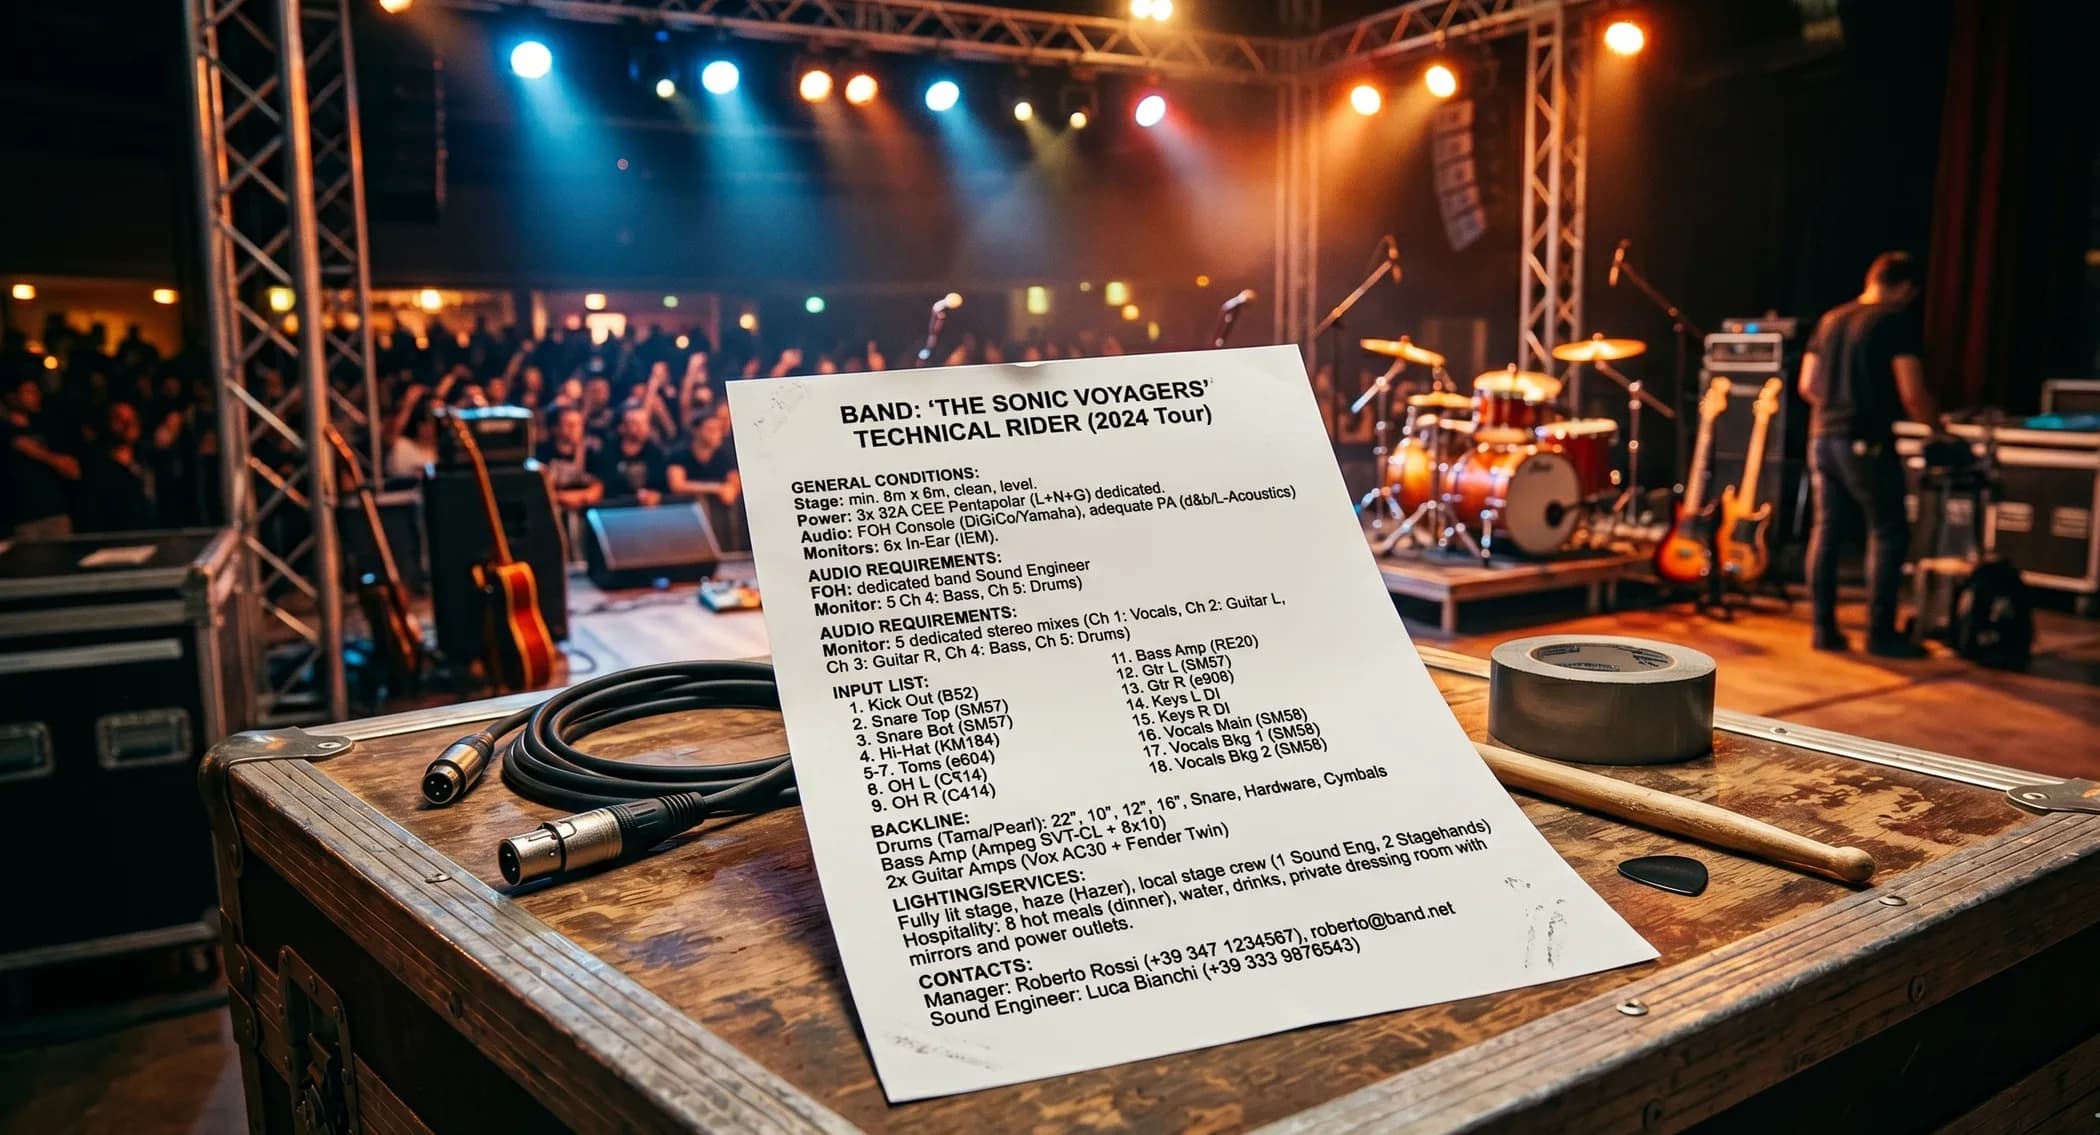
A technical rider is not a document you send to look serious. It is a document you send so the gig can actually run properly.
When it is well written, the venue, sound engineer, planner, promoter or production supplier can understand your setup before you arrive. When it is vague, outdated or unrealistic, the first half of soundcheck becomes a negotiation.
For working bands, especially wedding, corporate and private-event bands, the best rider is not the most impressive one. It is the one that can be used under pressure by someone who has never met you.
What a technical rider is
A technical rider is the operational document that describes what your band needs to perform.
It usually includes:
- band lineup
- stage plot
- input list
- monitor requirements
- PA and mixer expectations
- backline
- power
- minimum stage area
- load-in and soundcheck times
- what the band brings
- what the venue or production supplier must provide
- technical contact
It is not the contract. It is not the quote. It is not the hospitality rider.
The contract explains the business deal. The technical rider explains how the performance is made possible.
Why private-event bands need one
Festival bands usually know they need a rider. Wedding and corporate bands often delay it because they assume every event is different and the details can be handled later.
That is exactly why they need one.
Private events often have less technical structure than concerts:
- no resident engineer
- a venue manager who understands catering better than audio
- a planner who controls the timeline but not the PA
- outdoor spaces with limited power
- multiple performance locations
- no proper stage
- a DJ, celebrant, speeches and video team all needing audio
- noise limits that appear late in the process
A rider does not make every venue technically perfect. It makes the missing information visible early enough to fix it.
Keep the rider current
An old rider is worse than no rider.
If the singer has changed, the keyboard rig is different, the drummer now uses SPD pads, the band has moved to in-ear monitoring, or the backing tracks are now stereo instead of mono, the PDF must change.
Put this at the top:
- band name
- rider version
- last updated date
- technical contact
- booking/admin contact
- number of performers
- standard setup time
- reduced setup option, if available
Use a clear file name:
BandName_Technical_Rider_2026-05.pdf
Do not send new rider final v3 REALLY FINAL.pdf.
Stage plot: the map
The stage plot is a top-down map of the band on stage.
It shows where musicians, instruments, amps, monitor wedges, power points and key equipment should be placed. It does not need to be artistic. It needs to be readable.
Always state the point of view:
Stage plot from audience view or stage plot from stage view.
For mixed professional and private-event contexts, audience view is often clearer. If you use stage left and stage right, be consistent and label it.
A simple text stage plot is often enough:
AUDIENCE VIEW

[Guitar + vocal]     [Lead vocal]          [Bass]
      MON 1             MON 2              MON 3

                 [Drums]
                  MON 4

IEM/playback rack: stage left
Power required: 2 grounded 230V outlets near rack and drum area
If you create a graphic plot, keep it functional: names, instruments, monitor positions, amps, risers if needed and power. No decorative clutter.
Input list: the engineer's working document
The input list is the numbered list of every source that needs to reach the mixing console.
This is the part of the rider the engineer will actually use when patching the stage. It should be ordered, numbered and consistent with the stage plot.
A useful input list includes:
- channel number
- source
- microphone or DI requirement
- who provides it
- stage position
- notes
Example for a five-piece private-event band:
| Ch | Source | Mic/DI | Provided by | Position | Notes |
|---|---|---|---|---|---|
| 1 | Kick | Beta 52 / D112 or eq. | Production | Upstage centre | |
| 2 | Snare | SM57 or eq. | Production | Upstage centre | |
| 3 | Overhead L | Condenser | Production | Drums | Phantom |
| 4 | Overhead R | Condenser | Production | Drums | Phantom |
| 5 | Bass DI | XLR DI out | Band | Stage right | |
| 6 | Guitar amp | e906 / SM57 or eq. | Production | Stage left | |
| 7 | Keys L | DI | Production | Stage left | Stereo |
| 8 | Keys R | DI | Production | Stage left | Stereo |
| 9 | Lead vocal | SM58 / Beta 58 or eq. | Production | Downstage centre | Straight stand |
| 10 | Guitar vocal | SM58 or eq. | Production | Stage left | Boom stand |
| 11 | Bass vocal | SM58 or eq. | Production | Stage right | Boom stand |
| 12 | Playback L | DI | Band/Production | Rack | If required |
| 13 | Playback R | DI | Band/Production | Rack | If required |
Do not inflate the list. If keys are mono, write mono. If you do not need tom mics for a small wedding room, do not list them because a larger act does. If a vocal mic is your own, say so.
Monitor requirements
Monitoring is where many small shows waste the most time.
Be precise about how the band hears itself:
- wedges from house production
- in-ear monitoring
- band's own IEM rack
- analogue split
- monitor mixes from FOH
- hybrid setup
Example:
| Mix | Destination | Type | Notes |
|---|---|---|---|
| Aux 1 | Lead vocal | Wedge | Lead vocal, keys, light drums |
| Aux 2 | Guitar | Wedge | Lead vocal, guitar, keys |
| Aux 3 | Bass | Wedge | Kick, bass, lead vocal |
| Aux 4 | Drums | IEM | Click and playback only in IEM |
If you use your own IEM system, write exactly what you need:
"Band carries IEM mixer, transmitters and earphones. Required: analogue split or direct outputs from console. Alternative setup available with 4 pre-fader aux sends from house console."
Do not write "professional monitoring required" and expect the engineer to guess the rest.
Ask for outcomes, not fantasy brands
Unless you are working at a production level where specific brands genuinely matter, write requirements in terms of outcomes.
Good:
"PA system suitable for the audience size and room layout, installed and tested before band arrival, with even coverage and no obvious hum or distortion."
Less useful:
"L-Acoustics / d&b / Meyer only."
For most weddings, corporate events and clubs, the system being appropriate, safe and competently operated matters more than the logo on the boxes.
Use "or equivalent" generously:
- SM58 or equivalent
- Beta 52 / D112 or equivalent
- professional DI box
- digital console with at least 16 input channels
If something is truly non-negotiable, explain why.
Power and safety
Power is not just "a socket".
Your rider should describe:
- number of outlets required
- voltage and connector type when relevant
- whether grounded power is required
- distance from stage or performance area
- whether separate circuits are needed
- protection for cable runs in public areas
- weather protection for outdoor events
For international work, voltage matters. Europe uses 230V / 50Hz; North America commonly uses 120V / 60Hz. A plug adapter changes the shape of the plug, not the voltage. If you travel with amps, pedalboards, keyboards, wireless receivers or lighting, check the power rating before you put it in a case.
In the UK, venues may ask for PAT records. The important point is that equipment must be maintained so it is safe to use; labels and records are practical proof, even where the law is not simply "test everything every year." Keep your electrical gear inspected, documented and in good condition.
Do not make unsafe fixes on site. No open connectors, no overloaded adapters, no unprotected cable runs across guest areas.
Wireless equipment
If you use wireless microphones or in-ear systems, include them in the rider.
At minimum:
- number of wireless systems
- brand/model
- frequency band
- whether frequency coordination is needed
- whether the band can switch to wired backup
For destination events, check local regulations before travelling. A wireless system legal in one country may be unusable or congested in another. The EU has harmonised some spectrum for wireless audio PMSE use, but that does not remove the need to coordinate in real venues with other devices.
Simple rider wording:
"Band uses 2 wireless IEM systems and 1 handheld wireless microphone. Frequencies to be coordinated with local production before soundcheck. Wired backup available for lead vocal."
Schedule: load-in, soundcheck and line check
A rider should state how long you need.
For a private-event band with house production already in place:
- load-in: 20-30 minutes
- line check: 15-20 minutes
- full soundcheck: 30-45 minutes
For a band carrying its own PA:
- load-in and setup: 60-90 minutes
- soundcheck: 20-30 minutes
- strike: 45-60 minutes
The critical detail is not only the duration. It is when the soundcheck must be complete.
Useful wording:
"Band must complete setup and soundcheck at least 60 minutes before guests enter the performance area."
At private events, this avoids the classic problem: guests arrive while the drummer is still checking the snare.
Who provides what
This section prevents arguments.
Separate it clearly.
Band provides:
- personal instruments
- guitar amp
- pedalboards
- keyboard rig
- playback laptop/interface
- personal vocal mic, if used
- IEM rack, if agreed
Venue/production provides:
- PA suitable for room and audience
- mixer with minimum channel count
- vocal microphones
- mic stands
- DI boxes
- drum microphones
- monitor wedges or aux sends
- stable power
- stage or performance area
- weather cover for outdoor performance
- engineer during setup, soundcheck and performance
If the band is self-contained, define the limit:
"Band can provide PA for indoor events up to 150 guests in one room. This does not include stage lighting, generator, staging, additional speech microphones or separate ceremony sound unless agreed in advance."
"We bring PA" is not specific enough.
Example technical rider
This example is for a five-piece wedding/corporate band: lead vocal, guitar, keys, bass and drums.
Adapt it to your real setup.
TECHNICAL RIDER - THE EXAMPLE BAND
Version: 2026-05
Technical contact: Name Surname - +44 7000 000000 - [email protected]
Booking contact: [email protected]

Lineup:
- Lead vocal
- Electric guitar + backing vocal
- Keys
- Bass + backing vocal
- Drums

Standard setup:
- 5 performers
- 13 audio inputs
- 4 monitor mixes required
- setup with house PA: 30-45 min
- setup with band PA: 90 min

Minimum performance area:
- Preferred: 5 m x 4 m
- Reduced setup: 4 m x 3 m
- Flat, stable surface
- Full cover required for outdoor events

Power:
- 2 grounded power outlets near performance area
- power must not be shared with catering or heavy decorative lighting
- cable runs in guest areas must be protected

Stage plot:
AUDIENCE VIEW

[GTR+BV]          [LEAD VOX]          [BASS+BV]
  MON 1              MON 2              MON 3

           [KEYS]             [DRUMS]
           MON 1              MON 4

Input list:
1 Kick - Beta52/D112 or eq.
2 Snare - SM57 or eq.
3 OH L - Condenser
4 OH R - Condenser
5 Bass DI
6 Guitar amp - e906/SM57 or eq.
7 Keys L - DI
8 Keys R - DI
9 Lead vocal - SM58/Beta58 or eq.
10 Guitar backing vocal - SM58 or eq.
11 Bass backing vocal - SM58 or eq.
12 Playback L - DI
13 Playback R - DI

Monitor mixes:
Mix 1 - Guitar/Keys: lead vocal, guitar, keys, light drums
Mix 2 - Lead vocal: lead vocal, keys, bass, light drums
Mix 3 - Bass: bass, kick, lead vocal
Mix 4 - Drums: click/playback, bass, lead vocal

Band provides:
- personal instruments
- guitar amplifier
- bass with DI output
- keyboard rig
- playback system
- IEM system if agreed in advance

To be provided:
- PA suitable for audience size and room
- mixer with at least 16 input channels
- 3 vocal microphones with stands
- basic drum mic package
- 2 stereo DI boxes or 4 mono DI boxes
- 4 monitor wedges or 4 pre-fader aux sends
- sound engineer for setup, soundcheck and performance

Operational notes:
- Band must complete soundcheck at least 60 minutes before guests enter the performance area.
- Outdoor setups require full cover for musicians and equipment.
- Any change of performance position must be agreed before event day.
Common mistakes
Outdated rider. The fastest way to annoy a sound engineer is to send a rider that describes last year's band.
Too much brand-specific language. If you demand premium touring equipment for a small private event, your rider becomes less useful, not more professional.
No technical contact. Someone needs to answer real questions before the event.
No distinction between band-provided and venue-provided gear. This is where missing DI boxes, mic stands and monitors happen.
Unreadable stage plot. A beautiful diagram that cannot be used during setup is worse than a plain text map.
No reduced setup. Private events often require compromise. If you can perform a stripped-down ceremony or cocktail setup, document it.
When to send it
Send the rider:
- when the booking is confirmed
- again around 30 days before the event
- again during final production advance, if anything changed
For weddings and private events, send it to both the client/planner and the person responsible for production or venue operations. A couple may receive the PDF and do nothing with it because they do not know what it means.
Use a short note:
"Attached is our current technical rider. The key items to confirm with venue/production are performance area, power, PA, monitor setup and soundcheck time. For technical questions, please contact [name] directly."
That makes the rider an active document, not a buried attachment.
The bottom line
A professional technical rider is not about demanding more. It is about making your needs clear enough that other people can prepare.
The best rider saves time, reduces stress and protects the performance. It gives the sound engineer a working document, the venue a checklist and the band a clear record of what was agreed.
If people can understand your setup in five minutes, your rider is doing its job.
Want to keep riders, contracts, setlists and logistics connected to each event?
With BandCalendar you can manage technical documents, equipment, lineups, schedules and client communication in one place.
Try it free — no card required
Free plan included, upgrade whenever you like
Related BandCalendar workflows
Explore the connected features
Documents and media
Organize PDFs, riders, contracts, quotes, images, audio, video, versions and public links in a cloud archive connected to clients, events, collaborators, lineups and projects, with contextual upload dialogs, PWA offline and controlled collaborator visibility on the event.
Open pageWedding bands
BandCalendar helps wedding bands and live musicians turn inquiries, quotes, contracts, repertoires, setlists, logistics and payments into one workflow that the whole team can use before, during and after the event.
Open pageEvent calendar
An operational calendar for musicians and bands that connects sales pipeline, clients, gigs, rehearsals, tasks, reminders, lineups, documents, Excel export and personal Google Calendar and Apple Calendar/iCloud sync.
Open pageBand management software
What band management software needs: calendar, CRM, quotes, click-to-accept contracts, setlists, documents, collaborators, Finances and fees.
Open pageStop wasting time with Word, PDFs and spreadsheets.
- Contracts, payments, events, all in one place
- Designed for concerts, private events, weddings and tours
- Free up to 60 MB, no credit card required
Get one useful guide a month