Wedding Band Demo Video: How to Make One and Where to Post It
What to show, how long it should be, how to record and publish it on the right channels: a complete guide to creating a demo video that brings in more bookings.
March 21, 2026 · BandCalendar
Why your demo video is your most powerful calling card
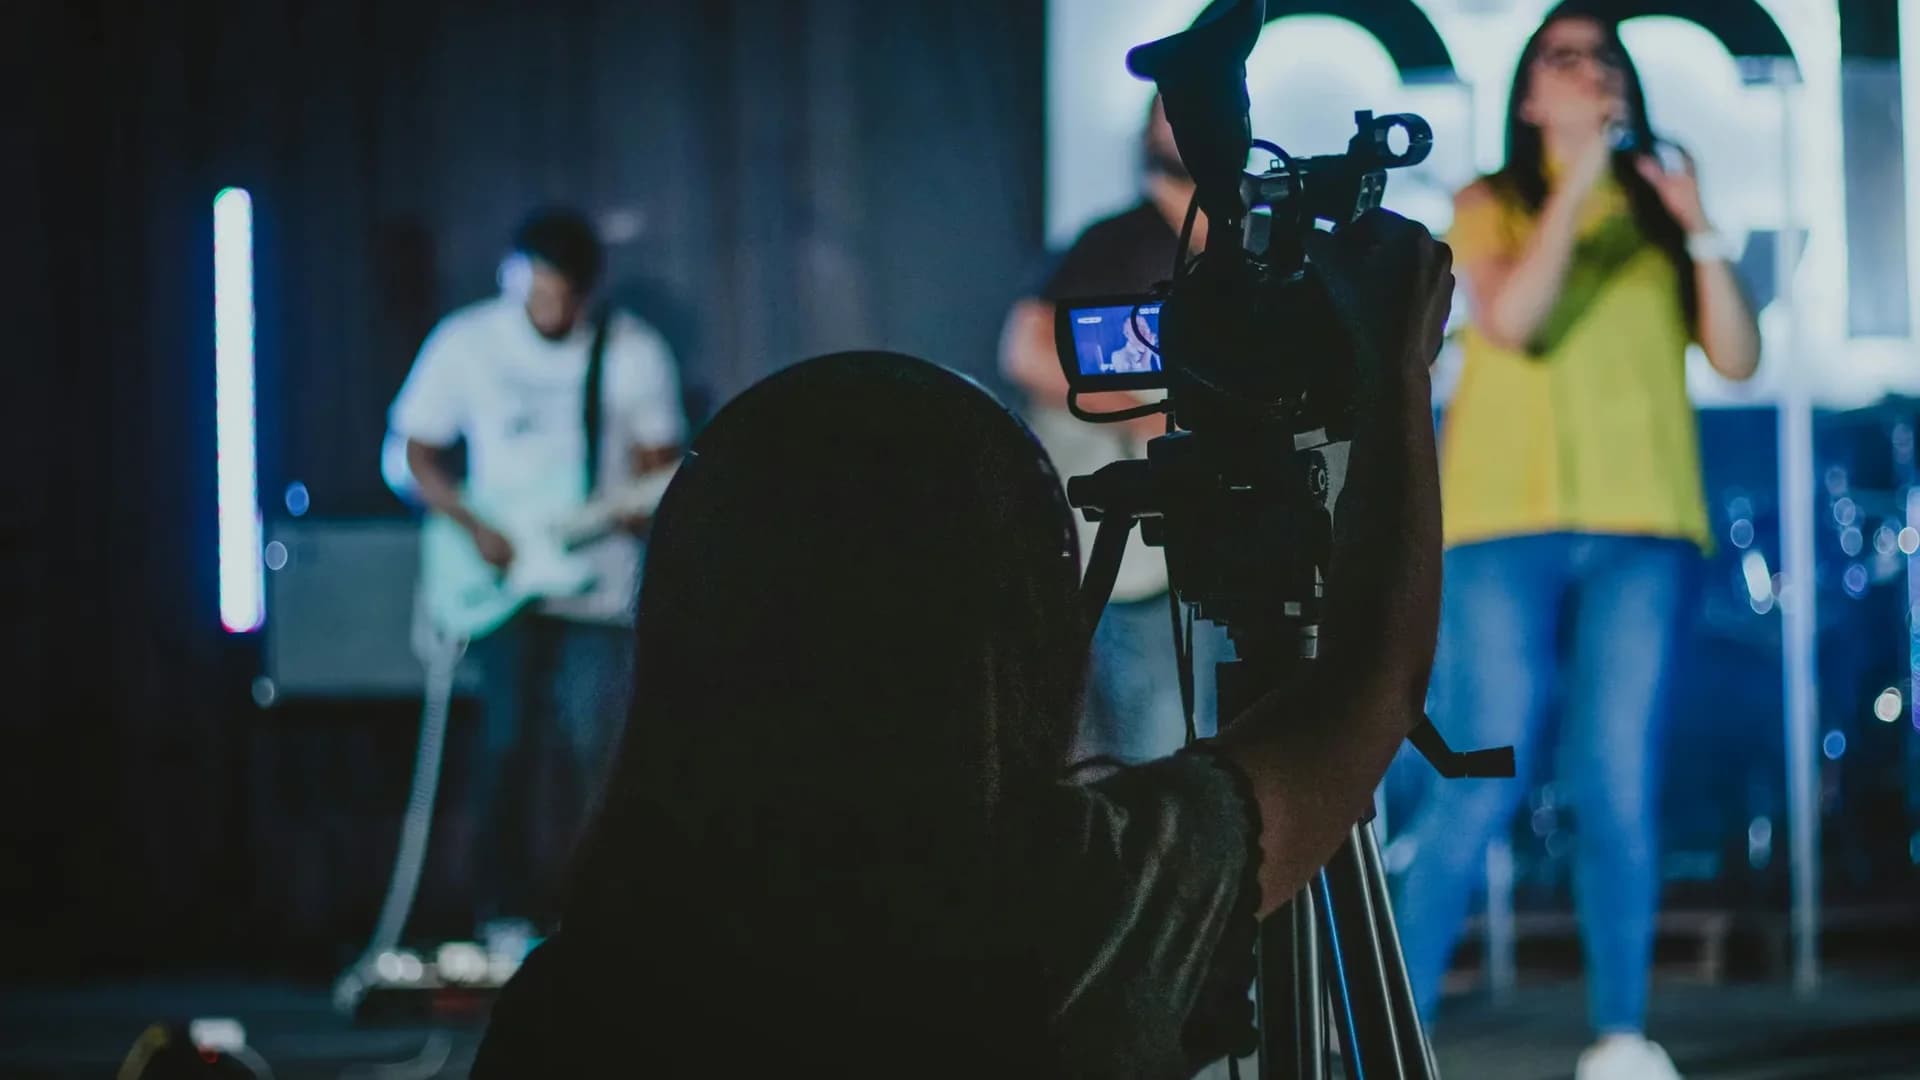
A couple is looking for a band for their wedding. They've already visited three websites, listened to two audio demos, and read a dozen reviews. But before reaching out to you, they want to see what you actually sound like live.
According to a survey by The Knot among couples married in 2024, 92% watched at least one band video before booking. 67% ruled out vendors who had no video available.
Video isn't optional. It's the first filter clients apply.
An audio demo makes you sound good. A demo video makes you look professional. It shows how you move on stage, how you interact with the audience, how you're dressed, what energy you project. All information a music file simply cannot convey.
There's a catch though: most wedding band demo videos are poorly executed. Shaky footage, terrible audio, excessive length, chaotic editing. The result: instead of convincing, they push people away.
This guide explains how to make a demo video that actually works — without spending thousands on a film crew.
The 3 types of video that actually work
Not every video serves the same purpose. Understanding the difference helps you choose the right format for where you are right now.
1. Live footage (live showcase)
A live video is simply the recording of a real performance at a wedding, concert, or private event. It's the most authentic type of video you can have: the client sees exactly what they'll get, with the real context of the room, the audience, and the atmosphere of the evening.
The big advantage is zero cost if you already have footage. Just ask the venue's sound engineer to record your performance from the mixer and have someone frame the band with a tripod. Many musicians underestimate this opportunity: even with modest equipment, a well-recorded live set communicates a truth no studio can replicate.
The downside? Audio quality depends on the evening's PA, you can't control the lighting, and unexpected things happen: guests walking in front of the camera, background noise, awkward silences. That's why live footage works best when you have several performances recorded and can cherry-pick the best clips, discarding anything that falls flat.
A jazz band that regularly plays weddings might record three 30-second clips during a cocktail hour: one swing number, one bossa nova, one funk. Audio captured from the venue's mixer, video from two fixed cameras. Edited to 90 seconds total. Result: authentic, credible, effective.
2. Professional studio or location shoot
This is a step up. A professional video is a performance recorded specifically for the demo, in a recording studio or a rented venue. Controlled audio and video quality, professional lighting, no distractions or surprises. You can redo songs until they're perfect.
The downside is cost: from €500 to €3,000 for a day, depending on who you hire and where you shoot. Some clients may also perceive it as less "real" than a live performance. But if you want to position yourself at the higher end of the market, it's practically mandatory.
It works particularly well if you already have a live portfolio but quality is inconsistent, or if you're launching a new lineup or a new repertoire. A voice-and-piano duo could rent a studio with a live room for half a day, record 5 full songs, and edit the best 3 with multiple camera angles and color correction. The result is clean, professional, and ready to show to discerning clients.
3. Hybrid edit (live + stills + backstage)
The hybrid format combines live clips, professional event photos, and brief backstage or preparation footage. It's what we'd recommend for most bands because it offers maximum versatility: you show energy, emotion, and professionalism all in one.
The big advantage is that it fills any gaps in the live material. Poor audio at one point? Use a photo with a voiceover. Shaky shot? Cut to another angle. You also tell a story rather than just showcase a performance.
It requires more editing time and you need both quality video and photos, but the final result stands out from the crowd. Picture this: 10 seconds of photos of the couple making their entrance, 30 seconds live during the cocktail hour, 15 seconds backstage as you're getting ready, 35 seconds live during the party. Total: 90 seconds that tell the entire story of what your service delivers.
What an effective demo video must contain
This is where most bands get it wrong. They think longer is better. Wrong.
The 90-second rule
Your demo video should run between 60 and 120 seconds. Never more. Couples looking for a band watch dozens of videos: they don't have time for your 8-minute full performance of "Autumn Leaves." Average viewer attention on an online video drops off after 90 seconds (Wistia 2024 data). If the client wants to hear a full song, they can ask after. The demo is meant to intrigue, not to satisfy.
You can have a second "extended" video of 4–5 minutes to send only to those who explicitly ask for it after seeing the short demo. But first contact must be instant.
The structure that works
An effective demo video follows a clear structure. Open with maximum energy: full dance floor, people dancing, you playing a driving chorus. It must capture attention within the first 3 seconds, otherwise the client scrolls past.
Right after, show a moment of audience interaction: you're talking to the couple, making a toast, getting guests involved. This communicates that you know how to run the room, not just play. A band that knows how to entertain is worth twice a band that only knows how to perform songs.
Then comes the heart of the demo: a clean, well-recorded clip where you can actually hear how you play. If the audio is bad, the client closes the video. Full stop. No matter how good you are live: if the video doesn't prove it, as far as the client is concerned, you don't exist.
After that, a quick montage of 3–4 different genres: a classic, an international pop hit, a dance or funk number. You need to show you can adapt to different moments of the evening. Close with a shot of the setup, a well-dressed stage, the musicians looking consistently styled. This communicates organization and attention to detail.
Final frame held for 5 seconds: logo, website, phone, email. Don't assume the client knows how to find you.
What to NEVER show
Some mistakes are so common they're worth listing explicitly. Distorted audio or feedback: if the microphone squeal is audible, the video is unusable. Shaky footage: use a tripod, don't hand-hold the camera. Red or strobe lighting: makes the video unworkable in post-production.
Drunk guests or embarrassing situations: even if funny, they don't communicate professionalism. Equipment in disarray: cables on the floor, open bags, water bottles on stage. Songs that trail off without an ending: 15 clean seconds beats 2 minutes with hesitations. Long text overlays: the client wants to hear the music, not read your CV.
How to record it: minimum gear and setup
You don't need a film crew. You need adequate equipment and a minimum of planning.
For live footage
For cameras, the minimum is 2 high-end smartphones (iPhone 15 or equivalent Android). The ideal is 2–3 mirrorless cameras or camcorders like the Sony A7, Panasonic GH5, or Canon R6. Position one camera front-facing for a wide shot of the whole band and one to the side or moving for close-ups on individual musicians.
Here's a lesser-known gem worth mentioning: it's called Motion Cam Pro, an inexpensive app (a few dollars) for Android that lets you capture genuinely RAW video directly from a smartphone. A word of caution though: it doesn't run on all devices. You need a smartphone with a Snapdragon processor and a compatible video sensor. The list of supported devices is on the app's official Discord channel, maintained by an international community of users and developers. RAW footage is very storage-heavy and requires a phone with solid processing power and plenty of RAM. This isn't an "install and use" solution: it's for tinkerers who are willing to read documentation, experiment, and understand post-production. But if you have the right device and the patience to learn it, the results are exceptional — probably the best value-for-money on the market for video quality comparable to semi-professional cameras.
Audio is the most important part. The basic option is to record directly from the venue's mixer: ask the sound engineer to record your performance to a USB drive or send you the file afterward. The intermediate option is a portable audio recorder like the Zoom H4n or Tascam DR-40X connected to the mixer. The advanced option is recording every instrument separately with a multi-track interface like the Zoom F6 or Sound Devices MixPre: it requires more work in post, but the quality is superior.
For lighting you can't control the venue's rig, but you can position cameras where the light is best, avoid backlit shots (don't film yourself with a window behind you), and ask the lighting technician to avoid saturated colors like red and green during the songs you want to record.
Recommended angles: wide front shot of the whole band and the room; tight side angle for detail on one or two musicians; from floor level where the audience stands (useful for capturing interaction); from above if possible, using a tall tripod or mounted camera (avoid this if it's unstable).
For studio shoots
The location can be a recording studio with a live room (cost: €200–500 for half a day). Or an empty rented venue such as a theater, event hall, or showroom. Or a private home with a large room if you have control over lighting and acoustics.
Rentable equipment includes 2–3 mirrorless cameras with 24–70mm lenses (rental: €100–200/day), fluid head tripods for smooth movement (€20–30/day), LED panel lights (2–3 units, €50–100/day), and a multi-track audio recorder or interface (€50–100/day).
For lighting setup, use a soft front key light on one musician at a time, a less intense side fill light, and a backlight from behind to separate subjects from the background. Avoid direct lights pointing into lenses — they cause flare.
Record every instrument on a separate track. Use dedicated microphones for vocals, instruments, and room ambience. Capture a "room mic" to record the acoustic of the space. And do a 30-minute soundcheck before you start.
Editing and post-production on no budget
Editing is where the video takes shape. You don't need to be an expert: just the right tools and a bit of practice.
The software musicians actually use
CapCut has become the de facto standard for musicians who aren't videographers. Born as a smartphone app, it now has full desktop versions for Windows and Mac. It's free, intuitive, and has ready-made effects that work straight away. Its strength is speed: you can put together a decent video in half an hour even if it's your first time using editing software. It's the most widely used by non-specialists precisely for this reason: you don't need a tutorial to figure out how it works. The limitation is that for complex projects it falls short, but for a 90-second demo it's more than adequate.
DaVinci Resolve is a different story. It's Hollywood's professional standard for color correction, and the free version is incredibly complete. Colorists for films, post-production houses for TV series, professionals working in video at the highest level — they all use it. The learning curve is steep: the first few times you'll feel lost among the menus and functions. But if you want cinema quality without spending money, it's the only real competitor to Adobe Premiere. It does require a powerful PC though: if you have an older computer, forget it.
Canva Video is web-based, freemium, with ready-made templates and very easy to use. It's limited for complex editing, but perfect for adding intros, outros, text, and your logo to an already-edited video. Many musicians use Canva for graphics and another tool for the actual editing.
iMovie is free on Mac, built-in, simple, and solid for getting started. If you have a Mac and need to do your first edits without complications, iMovie is the natural choice. Apple only, basic features, but it works.
Adobe Premiere Pro costs about €25/month and is the industry standard for anyone producing video regularly. Perfect integration with other Adobe tools, professional features, constant updates. But if you're only making one demo video every two years, it's overkill.
The editing workflow
Import and organize your material: create separate folders for video, audio, photos, and music. Rename files clearly and immediately discard unusable clips — shaky shots, distorted audio, bad angles.
Watch all the material and note the best timecodes. Mark the moments of peak energy, the best expressions, the successful solos. Don't get attached to your footage: if a clip doesn't work, cut it. It's painful, but necessary.
Start editing with the high-energy opening. Alternate wide and tight shots to create pace. Cut on beats or chord changes: it makes the edit feel invisible. Keep each clip between 3 and 8 seconds — any longer becomes boring.
If you recorded separate audio, sync it with the video. Use a clap as a visual and audio reference point. In DaVinci or Premiere, use automatic sync: it works well and saves you hours.
For color correction, balance exposure (not too dark, not blown out), fix white balance (avoid blue or orange color casts), and apply a consistent look across all clips. Don't go overboard with filters: natural is always better than artificial.
Equalize volume across clips, add light compression to make audio more consistent, cut background noise between songs. Final output volume should be around -6dB: leave headroom for publishing.
Use straight cuts in most cases: they're invisible. Use cross-dissolves only for changes of mood — for example, transitioning from live to photos. Avoid creative transitions like page turns or glass effects: they look amateur.
The last frame should show the band's logo, website, phone, email, and social handles. Hold it for 5 seconds: just long enough to read it and take a screenshot. Use readable fonts and high contrast (white on dark or vice versa).
For export, use MP4 (H.264), resolution 1920x1080 (Full HD) — 4K isn't needed for the web. Frame rate: 25 fps (European standard) or 30 fps. Bitrate: 10–15 Mbps for high quality without an enormous file size. Audio: AAC, 320 kbps.
Where to publish for maximum visibility
Having a beautiful video means nothing if no one sees it. Here's where to post it and how to optimize it for each platform.
YouTube is non-negotiable
YouTube is the world's second-largest search engine after Google. Couples use it to search for bands. Being there isn't optional.
The title should be clear and descriptive: "Sarabanda Jazz Band - Wedding Demo Video | London" works. "Our new 2025 video" doesn't. It should include the band name, type of video, genre (if relevant), and location.
In the description, the first line (visible without clicking "show more") should immediately state what you do: "Sarabanda Jazz Band plays at weddings in London. Watch the demo video and request a quote at www.sarabandajazz.com." Then expand with links to your website, social media, a brief description of the lineup, and targeted hashtags.
The thumbnail is crucial: high-resolution image (1280x720 px minimum), faces of the musicians (faces attract clicks), short readable text ("LIVE 2025" or "DEMO"), contrasting colors.
Add tags like "wedding band," "live music," "jazz wedding," "London." Create playlists such as "Demo Videos," "Live Weddings," "Repertoire." Add subtitles: YouTube generates them automatically, but review them to fix any awkward errors.
Wedding portals
WeddingWire, The Knot, Hitched, and other aggregator portals have high SEO authority. AI assistants consult them to find bands. Being listed there also improves your Google ranking.
Most portals accept YouTube or Vimeo embeds: upload the video to your YouTube channel, then paste the link into your profile. Some platforms also accept direct upload (typically max 500 MB, MP4/H.264, minimum 1280x720 resolution).
Keep your title consistent with your YouTube title, and in the description include your area, lineup size, and genres. Ask clients to watch your video on the portal: it increases views and improves your internal ranking.
Your own website
The video on your website should be the first thing visible after the headline. On the homepage, place it immediately below the main heading, before any text. If you have a "Videos" or "Demo" page, make it a dedicated page — add more videos if you have them. On the services page, embed the video in the "How we work" section.
Don't upload the video directly to your website server: it slows down load times. Use YouTube or Vimeo and embed the player with a standard iframe.
Directly below the video, add a call-to-action button: "Request a quote," "Check our availability," or "Listen to the full repertoire."
Social media
Social channels aren't the primary conversion channel, but they serve for awareness and to drive traffic back to your site.
On Instagram, use Reels in vertical 9:16 format, max 90 seconds. Crop your horizontal video vertically, framing the lead musician. Use original audio (don't cover it with Instagram's library music). Hashtags: 5–10 targeted ones (#wedding, #weddingband #livemusic). Link in bio to your website or full YouTube video.
On TikTok, same vertical format as Instagram. Post 30–60 second clips. Only use trending audio if it's consistent with your style. Call to action in the caption: "Link in bio for the full video."
On Facebook, upload the video natively (not as a YouTube link): Facebook rewards directly uploaded videos. Horizontal or square (1:1) format. Share in local wedding groups with moderation — no spamming.
How much it costs
Here's a realistic cost breakdown by investment level.
€0–100: self-produced
You're starting out, you have a limited budget, but you already have some live footage. You use smartphones you already own (high-end iPhone or Android), record audio from the venue's mixer (free, if the sound engineer cooperates), edit with CapCut or iMovie (free), and publish on YouTube (free).
Real costs are a smartphone tripod (€20–40) and possibly an external microphone for your phone (€50–80). Total: €70–120.
The result is an honest video, not professional-grade but acceptable. It works if the music is genuinely good.
€100–500: semi-professional
You want a quality step up from self-produced, you have a stable lineup and know you can recoup the investment, and you want to position yourself in the mid-market.
You rent 1–2 mirrorless cameras for a day (€100–200), rent an audio recorder like a Zoom H4n (€40–60), use a free location (a musician's home, a rehearsal room), edit yourself with DaVinci Resolve (free), and optionally hire a photographer to shoot stills during recording (€150–250).
Video/audio gear: €150–250. Photos: €150–250. Total: €300–500.
The result is a good-quality video, competitive with most bands at your level.
€500–2,000: professional
You want to position yourself at the top end of the market, you have an existing client portfolio and can invest, and you're launching a new project or new lineup.
You hire a professional videographer for a day (€400–800), a dedicated audio engineer for multi-track recording (€200–400), rent a location (studio or event hall, €300–600), rent lights and a lighting technician (€200–400), pay for professional editing (€300–600), and color correction and audio mixing (€150–300).
Full production: €1,500–2,500.
The result is broadcast-quality video, competitive with the best bands nationally.
Optional extras
Animations and graphics (animated intro, animated logo, dynamic text): €100–300. Drone footage for aerial shots: €200–400 (only for spectacular outdoor venues). Subtitle translation: €50–150 (if you're targeting international clients).
The final checklist
Before publishing, run through this quick check.
Duration between 60 and 120 seconds. High-energy opening that hooks in the first 3 seconds. At least 3 different musical genres showcased. At least one visible moment of audience interaction. Closing with logo and contact details for 5 seconds.
Clean audio, no distortion or feedback. Consistent volume throughout. Stable footage, no shaking. Clips in focus, no unintentional blur. Natural colors, no strange color casts. Minimum Full HD resolution (1920x1080).
Cuts timed to the music. Coherent transitions, no tacky effects. No repeated clips. Final text legible and complete with website, phone, email.
Optimized title with band name, area, and service. Complete description with website link. Custom thumbnail, not a random frame. Tags and hashtags added. Video embedded on your website (homepage or dedicated page). Link to the video in social profiles and on wedding portals.
Bonus points if you can: subtitles in English (or your local language), vertical version for Instagram/TikTok, a second "extended" version (4–5 minutes) ready to send on request.
A real story from a musician forum
On a guitar community forum, a guitarist shared his experience: "I spent two years playing weddings without a demo video. I sent audio files, quotes, references. Barely anyone replied. Then a friend said: 'Do you even have a video?' I cut together three clips from a wedding on my phone, audio from the mixer, 90 seconds in CapCut. Put it on YouTube and on my site. Within three months, enquiries doubled. Couples were saying: 'We saw your video, we loved you.' Without that video, I'd probably still be sending emails into the void."
This isn't an exceptional story. It's the norm. Those who have a video work more. Those who don't, wait.
How BandCalendar helps
An effective demo video brings in more enquiries. But then you need to manage them.
BandCalendar doesn't help you make the video. It helps you convert the enquiries the video generates.
When a couple writes to you after seeing the video, you want to respond fast. With BandCalendar you create a professional quote in 5 minutes, with all the service details (including a reference to the video they've already seen).
The video convinced the client. The contract formalizes the agreement: fee, included services, penalties, logistics. All archived and trackable.
Once booked, the client wants to choose the songs. With BandCalendar's repertoire sharing feature, the couple selects their preferences online, you receive everything organized, and you generate the setlist in one click.
Emails, notes, preferences, payments: all in one place. No more lost messages or scattered spreadsheets.
The demo video gets you found. BandCalendar gets the contract signed without the headache.
The bottom line
A well-made demo video isn't a cost. It's an investment.
A couple who watches your video and reaches out is already pre-qualified. They know what you offer, they've seen how you play, they've fallen for your energy. When they write to you, they're already halfway to booking.
Without a video, you have to convince them from scratch. With an effective video, you only need to confirm what they've already seen.
You don't need to spend thousands. You need planning, minimal equipment, and a bit of time. The result — more enquiries, more bookings, more perceived authority — pays back the investment within a few gigs.
Start with what you have. Record your next live performance. Edit 90 seconds. Post it on YouTube.
The perfect video is the one you publish, not the one that stays on your hard drive.
Related BandCalendar workflows
Explore the connected features
Documents and media
Organize PDFs, riders, contracts, quotes, images, audio, video, versions and public links in a cloud archive connected to clients, events, collaborators, lineups and projects, with contextual upload dialogs, PWA offline and controlled collaborator visibility on the event.
Open pageWedding bands
BandCalendar helps wedding bands and live musicians turn inquiries, quotes, contracts, repertoires, setlists, logistics and payments into one workflow that the whole team can use before, during and after the event.
Open pagePrivate events
BandCalendar helps musicians, bands and small ensembles manage private parties, corporate events, receptions and custom bookings with clients, quotes, contracts, timings, venues, documents and payments always connected.
Open pageStop wasting time with Word, PDFs and spreadsheets.
- Contracts, payments, events, all in one place
- Designed for concerts, private events, weddings and tours
- Free up to 60 MB, no credit card required
Get one useful guide a month